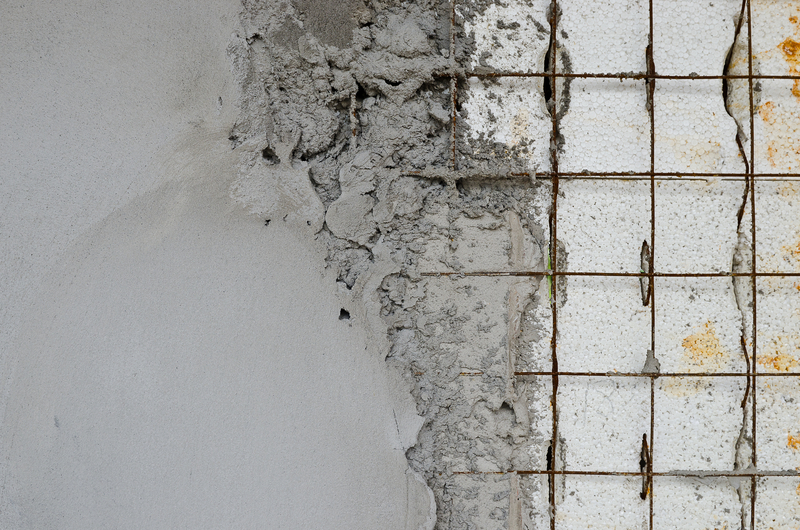
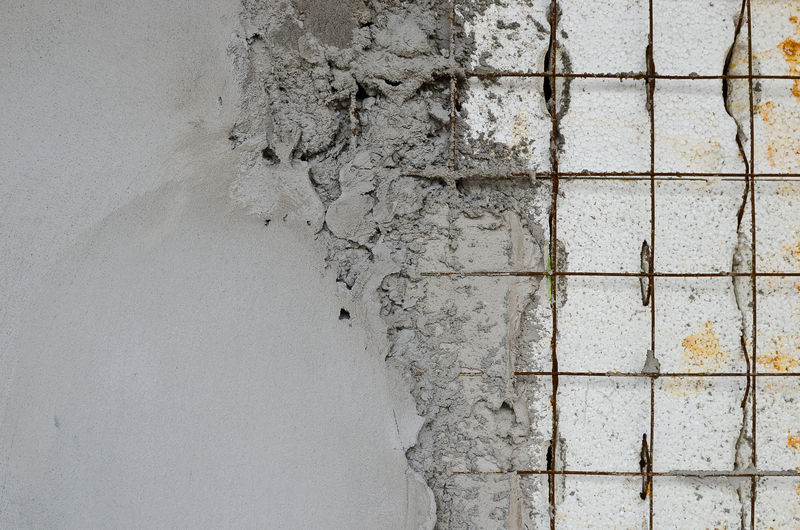
What is Reinforced Concrete?

A lot of you will be familiar with reinforced concrete as a building material, but may not be aware of the finer details. Commercial concrete is often a good solution for building work, we will be discovering a bit more about why this is the case, and the best ways to go about using the material for your building projects.

Everything You Need to Know About Reinforced Concrete

Commercial Concrete

This is concrete used as part of a building project, often used to create or enhance business facilities, industrial buildings, warehouses and retail stores. In an average building, you will find commercial concrete in plenty of spaces, such as the walls, floors and even some architectural details. A large majority of commercial buildings would have been put together with heavy use of commercial concrete. Like domestic concrete it has many benefits when used on a building site, durability being one of the most obvious.

Domestic Concrete

Domestic, or residential concrete usually has less demand placed on it in terms of structural performance and durability, but in itself, it is still considered a durable building material. Domestic concrete floors and pavements usually require a lower strength mix design and lighter reinforcement than commercial concrete.

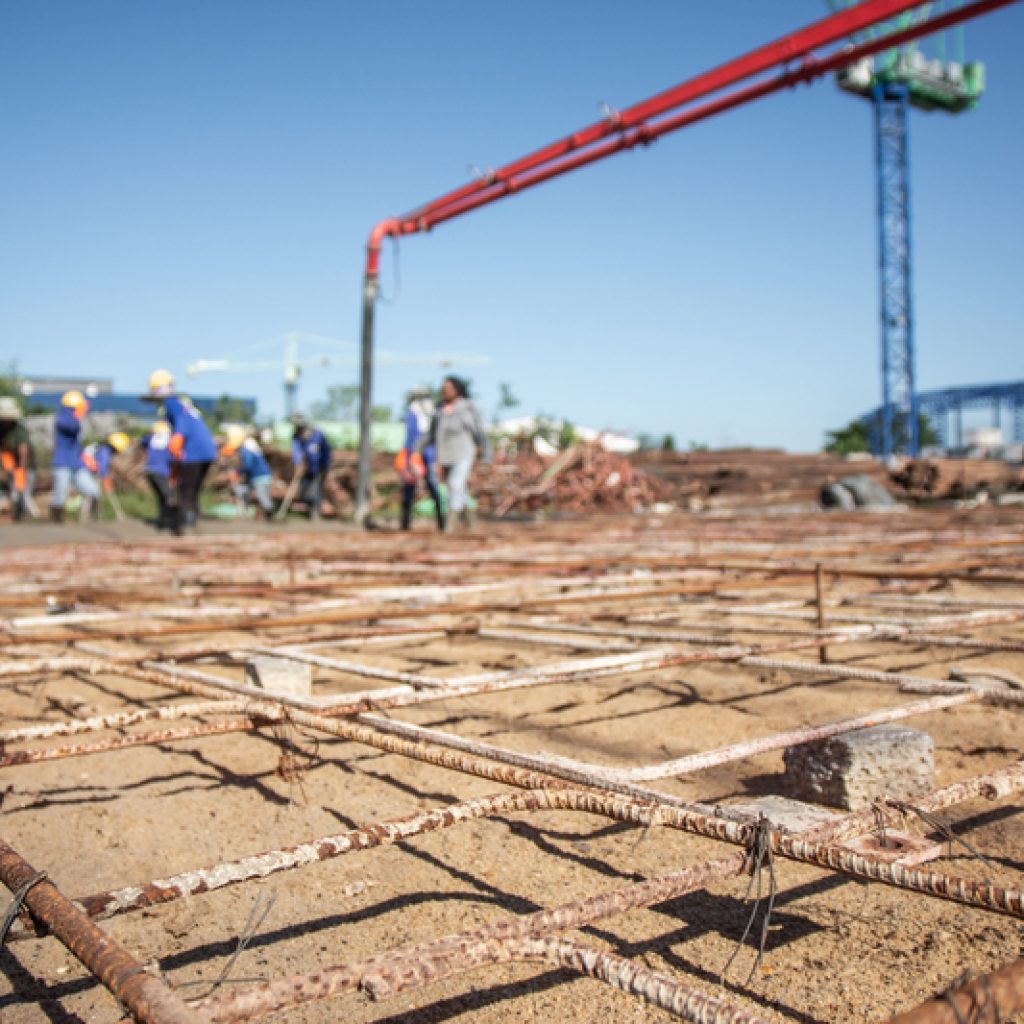
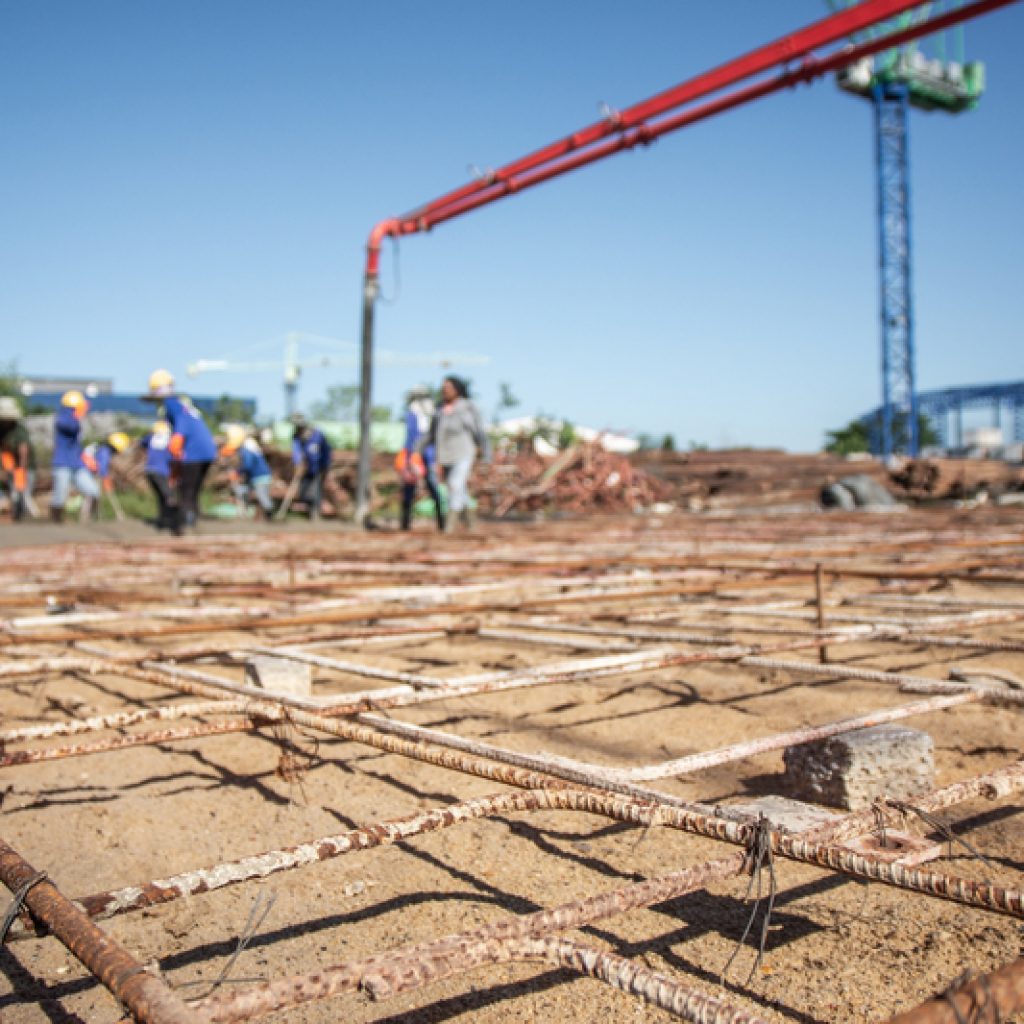
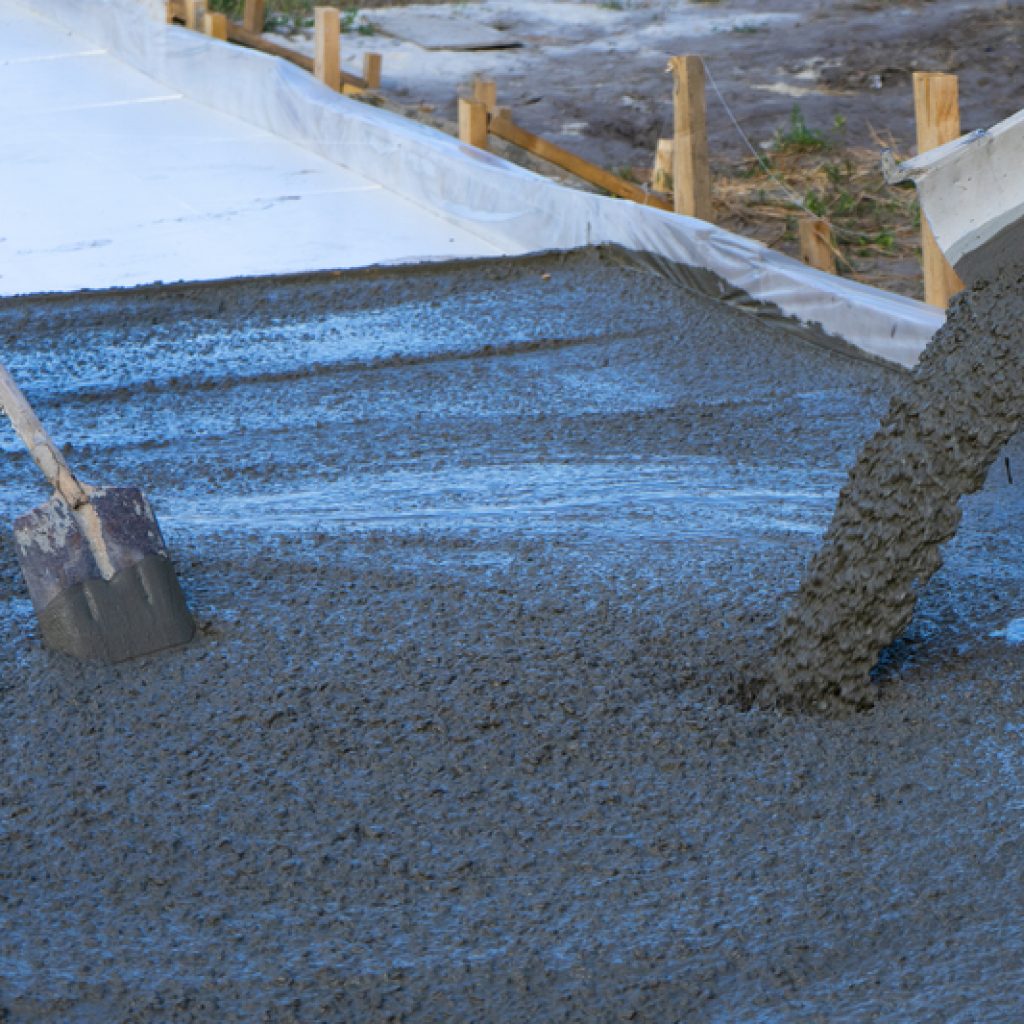
reinforced concrete floor

Concrete Pumps

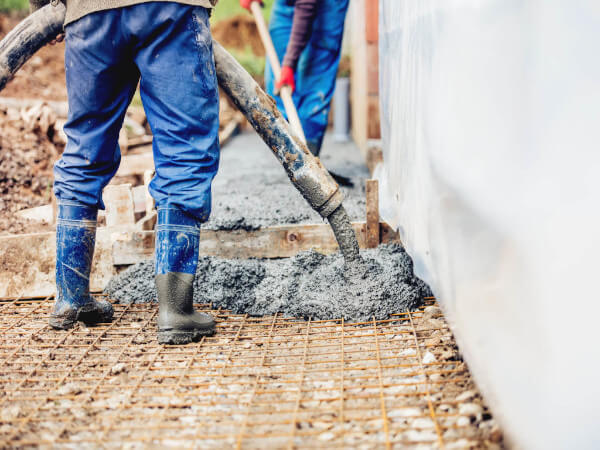
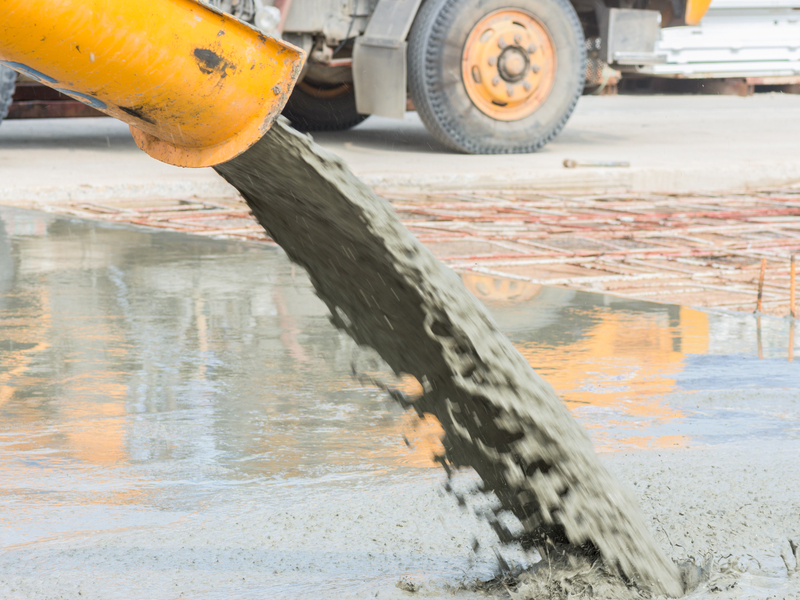
The purpose of a concrete pump is to have a tool that can convey liquid concrete. This works by having one piston drawing liquid concrete into a cylinder from a hopper while the other piston simultaneously pushes concrete out into discharge pipes. There will be a valve which can determine the cylinder that is open to the concrete hopper and the one which is open to the discharge pipes, which gets switched over each time the pistons reach an endpoint, with the process continuing with the first cylinder now discharging and the second drawing fresh concrete from the hopper.

Concrete Services

If you need to deal with reinforced concrete there are a couple of things that are crucial to consider. You need to make sure that if you are laying the material yourself you know what you are doing with it. You must also make sure that the concrete is of a high-quality standard. You must have the facilities to mix it correctly as well as an appropriate skill/strength level to physically handle it/the required machinery.

Alternatively, you may need to use the services of a professional concrete company, like Base Concrete, to prepare and lay the concrete and get your building project completed. Commercial concrete can be a great asset to all sorts of projects and can be purchased with some very good deals, just make sure you are only ever involved in using the services of professional and trusted companies. It is almost a guarantee that your area will have quite a lot of concrete services operating in your area where you can purchase your desired amounts of commercial concrete or have a service bring around the material and lay it on your behalf.

So, for all your concrete needs, contact Base Concrete today on 01442 389105. For more details, visit our contact page.

The post What is Reinforced Concrete? first appeared on Base Concrete.

Why Concrete is a Great Choice for Floors

You may just see concrete as a flooring option that is a pretty standard arrangement, one that places tend to opt for if they can’t think of a better choice. But some noteworthy reasons make concrete a great choice for flooring, it can elevate a stepping space to the next level… Let us take a look at 6 great benefits of concrete flooring and how it can transform the look of your property.

Strength 

If you know anything about the strengths of concrete, you will know that it’s a very durable mixture indeed. We’re talking about a material that can withstand very high volumes of weight, with strong pressure presenting no issues whatsoever. Heavy equipment and vehicles would not be enough to make a dent on a concrete floor. So a concrete floor can easily take all the foot traffic and moving of furniture that the average household is likely to take part in regularly without any issues!

Long-lasting

This durability means that the concrete will hold up and last for years to come. Especially if the concrete flooring is well looked after and sealed, you can expect it to last for a very long period before it becomes anywhere near being worn down. And even when the texture and colour begin to change with age, a long way down the line, that adds a bit of ‘character’ to the style of the flooring and is not a practical issue unless it actually becomes damaged in any respects.

Plenty of design options

Concrete does seem to be stereotyped as a boring flooring type, but that is quite unfair. Designers have come up with a wide range of options, with absolutely loads of different colour and textual effects to choose from. And don’t forget you can stain or paint the surface of concrete for your desired effects and also opt for other specialities such as polished concretes.

Reasonable 

If you’re cost-conscious, whether you’re looking to purchase domestic concrete or require flooring for office space, it remains one of the more economical options available. The clever aspect is that you can choose a faux floor pattern that resembles the style of a much more expensive flooring type for a fraction of the cost.

Easy to Maintain

Another big benefit of concrete is that it’s very easy to maintain. As mentioned, it will keep even better with a seal of some kind, a protective sealant that should be reapplied every 3-9 months on average. Regular sweeping and mopping will help keep the concrete looking fresh and new, but other than that, not much maintenance is required. Polishing your concrete is also a great way to keep it looking its best.

Good for Indoor and Outdoor

A final benefit of concrete flooring is it’s a reliable choice for both indoors and outdoors, so you can have it set up in your home or garden area.

You should enjoy selecting a great looking concrete flooring style, but there is also an alternative option. Consider hiring a mini concrete mixer which for a very small daily fee can produce your required amounts of concrete from the comfort of your garden! This can work out to be a very affordable way of getting the job done! So, for all your concrete needs, contact Base Concrete today on 01442 389105. For more details, visit our contact page.

The post Why Concrete is a Great Choice for Floors first appeared on Base Concrete.

The Many Uses of Concrete

Where would we be without concrete? It’s one of the most versatile and essential products for almost all construction projects across the world. It’s a substance that fills our world and can be seen in almost everything we see, but also one that is so easily overlooked.

There are so many uses for concrete. Its applications and uses are more varied and more widespread than you can imagine. There are over 20 different types of concrete that are used in a multitude of construction projects, but what are the most popular applications for it? What is it that makes concrete such an advantageous material to use, and how is it used in both domestic and commercial developments. Let’s take a look.

Origins of Concrete

Concrete, in one form or another, has been with us since 6500 BC. It can be traced back to what is now, the United Arab Emirates, where Nabataea traders created concrete floors, houses and even underground cisterns.

The Egyptians were using it to build the pyramids in 3000 BC, where they used mortars of lime and gypsum to create their version of cement. It was also used, not surprisingly perhaps, to help construct the Great Wall of China. It didn’t become concrete, at least what we recognise it as today, until the 1800s, but since then, its uses have grown more and more.

Buildings

For any of us living in a house or working in a building, it’s likely to be made from brick and mortar to some degree. In the UK, it took off after World War II as part of the rebuilding efforts. Nowadays, it’s probably the most popular application of concrete in the modern age and will be for centuries to come.

Foundation

Even if the building itself is more steel and glass, its foundations will be made from or secured in, concrete. Concrete is so popular because it won’t burn or rot, which means that the foundation is going to maintain its strength and rigidity for many years.

Roads and Bridges

As we move up in the world, the very streets you walk on and the bridges you use to cross those roads will also be made of concrete. Again, concrete wins against other materials because of its durability and safety. It might not be obvious, but another advantage of concrete in these environments is that it offers better reflectivity at night. Of course, it’s not just pedestrians it has to support, but because it can hold heavier weights, such as cars and trucks, it’s the perfect material to use.

Why Concrete has so Many Uses

The applications for concrete don’t stop there. They are only the start. Concrete is so popular in different projects simply because of its adaptability. It’s not sensitive to moisture, can be shaped and moulded into almost any design, affordable and is recyclable.

It has a very long lifespan, doesn’t release any dangerous organic compounds and is just as safe for inhabitants. It’s easy to forget the difference concrete has made to our world, but just look around and you’ll see that it’s everywhere.

Contact Us

Thank you for reading this blog post. Should you be looking for any mixes or perhaps ready mixed concrete itself, then we can deliver it straight to your door. So, if you have any upcoming tasks, then get in touch today on 01442 389105 or visit our contact page for more details.

The post The Many Uses of Concrete first appeared on Base Concrete.

The Different Types of Concrete Pumps

Construction projects require a constant supply of concrete, and without it, the construction project will be impossible to complete. Construction projects are usually faced with the issue of how to efficiently handle a large quantity of concrete manually. To resolve this issue, the use of the different types of concrete pumps at construction sites was invented.

This invention made the handling and placing of large concrete easier. Concrete pumps also made the construction process of tall buildings, skyscrapers and large construction projects more organised and efficient. The market has different types of concrete pumps available according to the size of the construction projects. There are also many concrete services which allow concrete pumps to be hired.

The different types of concrete pumps used for the diverse construction project are cost-effective. During construction projects, it is very crucial to choose the right concrete pumps that are economical, efficient and one that is specifically designed for your particular construction project. Below are the different types of concrete pumps and their benefits.

Concrete Pumps can be categorised into boom pumps, concrete pumps trucks, stationary pumps and concrete line pumps.

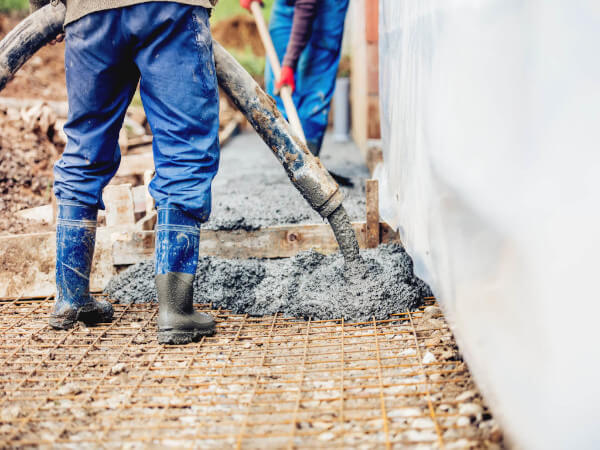
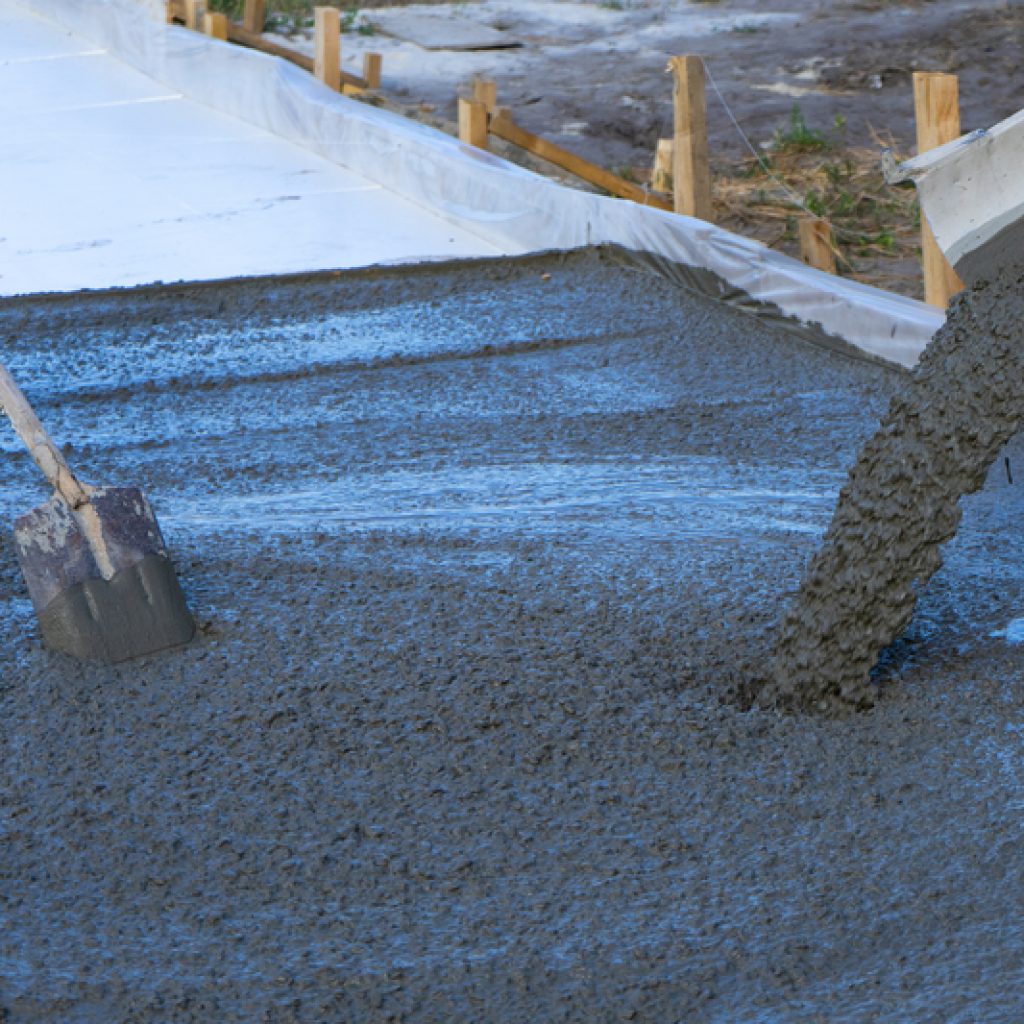
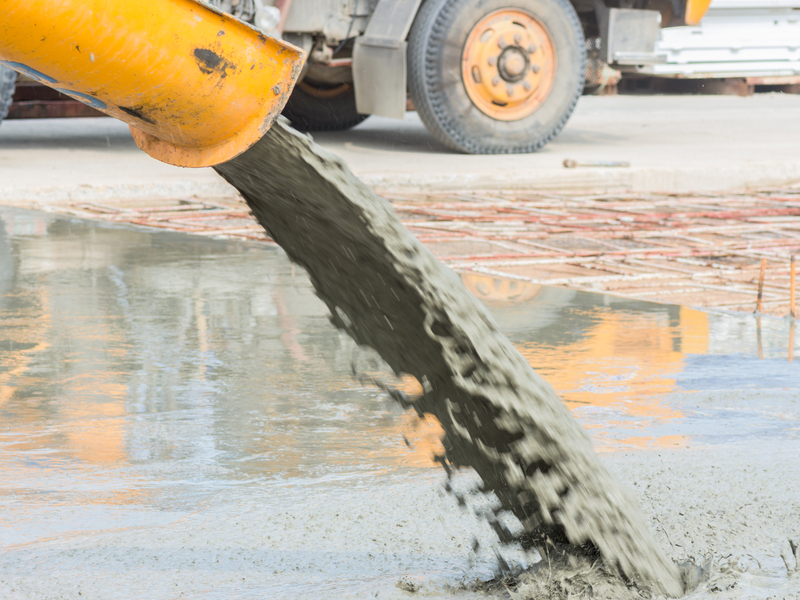
a concrete pump pouring concrete onto construction site

Boom Pump

A boom pump is a type of concrete pump which is characterised by a controlled hydraulic arm where concrete is placed and dispersed accurately in the right direction where it’s needed. 

They’re usually attached to a truck. Boom pumps are normally used for huge construction projects. It can easily navigate any barrier on its way and provides the right portions and angles during the construction process.

It’s easy to manoeuvre a boom pump. And it can churn out a large amount of concrete at a fast speed. It’s highly recommended to use the boom pumps for large construction projects.

Stationary pump

The stationary pump, unlike boom pumps, is characterised by less manoeuvrability. It’s usually attached to a truck or mounted on a trailer and the concrete is pumped through rubber hoses or steel pipelines. Working with a stationary pump requires that the direction of the pipeline be directed to the particular portion where the concrete is needed.

Stationary pumps are known for pouring concrete at a slower speed than other types of pump. So it’s recommended where the demand for a smaller volume of concrete is required for a construction project.

Specialised Usage Pump

Specialised usage pumps are one of the different types of concrete pumps that are readily available. Specialised Usage Pumps are a premium option. They can be designed for special type of construction projects, such as construction projects in mines or tunnels.

Concrete Line Pumps

Concrete line pumps are usually referred to as a trailer-mounted concrete pump or truck-mounted concrete pump because of its arrangement. The arrangement features a line pump attached to the trailer or the back of the truck. They are compact and recommended for small construction projects.

When choosing the right type of concrete pumps for a particular construction project, factors like the design of concrete mix, vertical and horizontal distances, size of the aggregate being used, volume or quantity of concrete should be carefully considered. Thank you for reading this month’s blog. Should you have any queries or perhaps are looking for equipment to hire, call us on 01442 389105 or visit our contact page for more details.

The post The Different Types of Concrete Pumps first appeared on Base Concrete.

How to Mix Concrete by Hand or in a Mixer

Lots of people fear using concrete. If it goes wrong, it can be difficult to fix, but for smaller domestic jobs it’s actually a lot easier than many people think. With this guide, we’ll go over the different ways to mix concrete so you can decide what’s best for you when attempting your DIY project.

Concrete Proportions

Concrete has 3 main ingredients. Cement, aggregate, and sand. These ingredients are mixed with water, which when dried out, binds into a solid, very hard material. Depending on what you’re using the concrete for, these can be mixed in different proportions to give you different finishes and strengths.

It’s very important to get these proportions correct. With too much sand, your concrete won’t be hard enough to withstand the test of time. However, too much aggregate and you’ll be rushing to find a way to cover it up and pretend that it isn’t there.

Mixing Methods

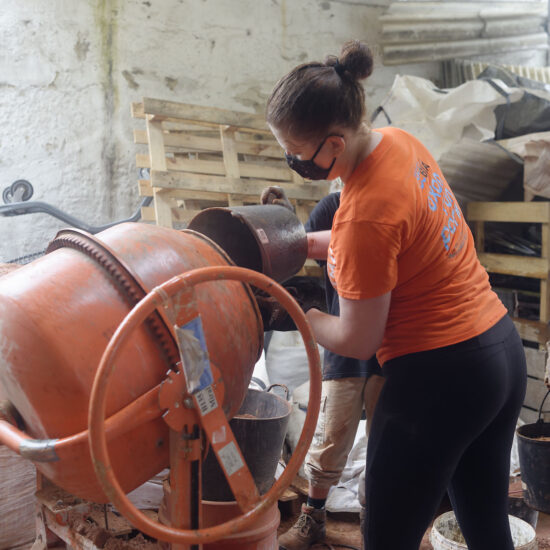
In a domestic setting, there are several different approaches you can take to mix your concrete. If you’re happy giving the different proportions a go, you can either do this by hand or by using a mixer. For small scale jobs, mixing by hand can be ideal as it’s easy to keep track of the consistency and see how it’s going. This can often be a good thing to do as a practice if this is your first time. For larger jobs, a concrete mixer can save you hours of time and strength mixing larger amounts of concrete together.

When it comes to domestic concrete, it’s often overlooked that there are some other options also available to you, especially for slightly larger jobs such as concrete bases for sheds, summerhouses and other garden accessories. The main differences between domestic and commercial worksites are space. Often with a commercial worksite, the work will be planned to make these processes as efficient as possible, allowing the concrete mixers to reverse right up to where they’re going. However, this doesn’t mean you can’t utilise similar methods.

Types of Concrete Mixers

There are two main different types of concrete mixer. There are ordinary concrete mixers and also volumetric concrete mixers and both of these have different uses. You’ll likely have seen ordinary concrete mixers or mini mixers driving around quite frequently. These have the advantage of being able to transport one of many different mixes of concrete. Extra ingredients can be added to the concrete at the factory in order to provide different properties such as waterproofing or extra fibres for additional strength. However, this isn’t often needed when it comes to domestic concrete.

The other type of concrete mixer is a volumetric concrete mixer. These are ideal for domestic concrete as you don’t need to worry about having too little or too much. ‘Mix as you go’ concrete mixers contain the raw ingredients needed and as you pour out the concrete will mix it straight away. They also have the added advantage over traditional concrete mixers of being able to supply multiple different mixes of concrete to the same job without having to pay the additional cost of bringing in a second load.

Concrete mixers and volumetric concrete mixers are also a great choice for people taking on DIY projects that don’t want to take the risk of getting the mix wrong. All you’ve got to worry about is where it goes with the extra guarantee of knowing that it will stand the test of time. Thank you for reading this blog post. Should you have any enquiries, feel free to call us on 07812 182778 or visit our contact page for more information.

The post How to Mix Concrete by Hand or in a Mixer first appeared on Base Concrete.

Benefits of Onsite Mixed Concrete

While you’re in the planning stages of your latest project, have you considered the benefits of onsite mixed concrete? If not, let us explain!

Budget

One of the great benefits is the amount of control that you have if you opt to use on-site mixed concrete. You see with this method you will receive the exact amount and mix of concrete that you require. As a result, you are controlling your budget by only paying for the amount you use. It avoids having loads of unused concrete hanging about!

Consistency of Concrete

Using mixed on-site concrete supply allows you more control over the consistency of the concrete. This is because, with the volumetric mixers that will be used, the materials that go into the concrete are kept separate until the batching process. This will mean you would be able to pick an exact consistency that would suit your needs.


Say, for some reason the consistency required changed halfway through the project, have no fear, as it’s on-site, this can still be altered! The great thing is the logistical advantage-you have when the concrete is delivered directly to your site. You will find that many companies offer next or even same-day delivery.

Fresh Concrete

That points us to another mixed concrete benefit. If you have the supply on-site, you’re providing your team with access to constant fresh concrete. When it comes to the pouring, it is always fresh. There are times when a delay may hit your project but that cannot be helped, and the fact you can keep the concrete fresh is a massive bonus.


Do note that if traditional drum mixers are being used, these can be impacted by delays because of their need to transport pre-mixed concrete in a drum from the yard to a site, meaning there is a chance it could go off. But with a mixed onsite service, there will be the option to change or extend the order on the spot, because the concrete providers will be able to produce the exact type of concrete needed-fresh!

Reduced Waste 

Keeping with the notion of how much more control you have with this concrete set up when it comes to on-site mixed concrete it is easier to scale your needs in relation to project size. Working on a very large site? You would benefit from volumetric mixers as these can hold up to twice the amount of the traditional drum mixers. Or perhaps it’s more of a smaller project? Likewise, on a small site, the mixers can produce smaller volumes with ease. This helps you to have the amounts you need and cut down on waste in the process.

Concrete Waste

Regarding quality, all the best onsite mixed concrete services will make sure to be providing you with concrete that is made from only the finest materials. Also, keep in mind you will be able to have the mix tailored to suit your needs, so if you require a tougher mix that can be made up or something more workable can also easily be fixed up, no issues.


If you agree that onsite mixed concrete is the way to go for your project, Base Concrete can help. Thank you for reading this blog post. If you are looking for anything to do with concrete, Base Concrete has you covered. Call today on 01442 389105 or visit our contact page for more details.

The post Benefits of Onsite Mixed Concrete first appeared on Base Concrete.

Top Tips To Sealing A Concrete Floor

How To Seal A Concrete Floor?

Using concrete flooring in your home can be an excellent choice. Especially if you’re interested in the durability of your floor. However, to make a concrete floor last it’s important to seal it properly since concrete is porous.

Sealing a concrete floor is an effective way to keep your floor free of stains from substances such as grease, oil, water, and others. As if that’s not enough, sealed floors look beautiful and are easier to clean.

To ensure that the sealer is effective, however, the application process has to be done properly. Everything you do, from surface preparation to picking the right application tool, will go a long way towards determining the final outcome. 

How To Go About Sealing A Concrete Floor 

Here’s a quick summary of what you should do when sealing a concrete floor

Clean the floor (remove stains, dust, oil, etc. from the concrete)  Remove any old sealer from the floor Use an etching solution to open up the concrete Use a sprayer or roller to apply the first thin coat of sealer  After the first layer has dried, apply a second coat of sealer in the opposite direction Leave the sealer on the concrete until it dries fully (avoid driving or walking on the concrete until it’s dry) 

Cleaning the floor

To avoid inconvenience, you should remove the furniture and everything else from the room. Keep in mind that you will need somewhere to store the items for no less than one week. Once the room is clear, sweep it thoroughly, and then proceed to clean any area that is still dirty. 

You can use mineral spirits to clean grease spills. Once the floor looks clean, use a concrete cleaner to ready the floor for sealing. Rinse the cleaner off, and then wait for the floor to dry. At this point, you can use a concrete repair caulk to fill any visible cracks. Then finally, wait until the caulking has dried completely.

Removing the old sealer

If the floor had an old sealant, you have to wait before applying the new sealant. If you’re not sure whether a sealant was used on your floor or not, you can use water to test this. To do this pour approximately one cup of water on the concrete.

If the water does not soak into the floor but instead beads up and remains on the surface, the floor had been sealed. If the floor had not been sealed, the water would soak into the floor. To remove the sealant, you can use a chemical stripper.

Since chemical strippers are acid-based, be sure to protect yourself when removing the sealant. After removing the sealant, you’ll have to let the floor dry for at least 24 hours before proceeding.

Choosing the sealer

There are four main types of sealers to choose from:

•   Acrylic sealers 

This kind of sealer sits on top of the floor and is mainly used to seal interior floors. Acrylic sealers are easy to apply, but they don’t protect the floor effectively against grease and oil stains when compared to other sealers.

•   Epoxy sealers 

Despite being more durable compared to acrylic sealers, this type of sealer also sits on top of the concrete. Epoxy sealers protect your floor effectively against grease stains, but they are difficult to apply. They are also available in various colors enabling you to change the look of your floor.

•   Polyurethane sealers 

This type is mainly meant for use over other types of sealers. Polyurethane sealers have UV protection, which keeps them from turning yellow over time. They also sit on top of the concrete, but the layer is usually thinner.

For this reason, polyurethane sealers are mainly applied over epoxy as the top layer. The sealers are available in semi-gloss, matte, and glossy finishes. Such sealers are typically fine when used over other sealers, but if you’re not sure, you can always get some clarification from the shop you are buying from.

•   Silane/siloxane sealers 

You can use this type of sealer if you don’t want to change the look of your floor. Since the sealers penetrate the concrete, it won’t become glossy or darker. It will retain the matte grey color. This kind of sealer lasts 20 years or more and is effective in protecting the floor against stains and deterioration.

concrete flooring

pplying the sealant

Here’s what you should do when applying the sealant:

1. Carefully read and understand the instructions

Every sealant is a tad different from the other. For that reason, you should read the manufacturer’s instructions to attain quality results for your project. Be sure to pay attention to important details such as the most appropriate temperature and humidity recommendations for application.

2. Ventilate the room

In whatever room you’re working from, ensure that there is enough ventilation by opening the windows and doors where applicable. You can also use an outside-facing fan to facilitate the movement of air from the room to the outside area.

3. If using an epoxy sealant, mix the two parts together

Epoxy sealants come in two different containers whose content should be mixed before application. In such a case, you should pour the content of the smaller container into the bigger one and then use a stir stick to mix them thoroughly.

You should mix them only if you’re ready to start the application process. It’s also important to note that you’ll have a period of one hour or so to get the epoxy down. For that reason, you have to be quick when working.

4. Divide the room into smaller sections 

It’s recommended that you divide the room into four sections for ease of application. You should start with the least accessible section, and work your way out to the door so that you won’t have to walk on the wet sealant.

5. Use a small paintbrush when sealing the edges of the floor

Get a paintbrush that is 5.1 to 7.6 cm wides and use it to apply the sealer along the edges of the concrete floor where the paint pad or rolling brush may not reach. Be sure to use nice, even strokes when applying the sealer.

6. Apply the sealer using a rolling brush or paint pad 

Pour some sealant into a painting tray and then dip a roller brush or a paint pad into the paint. If using a roller brush, be sure to roll the brush evenly in the paint. Use the roller brush or paint pad to apply a thin coat of the sealer along the edge that you’ve already painted.

Continue applying the sealer across the floor until you’ve covered the entire floor. When applying the sealer, you should ensure that there is always a wet edge to carry on from. The reason for doing so is to achieve a uniform look on the floor. 

Since you’ve already divided the room into smaller sections, you can work on each one of them at its own time. As you apply the sealer, make sure that you spread it evenly across the floor. You should also keep track of your area of coverage to avoid ending up with some patches that haven’t been sealed.

7. Apply a second coat 

For a smooth and even finish, you should apply a second thin coat. To ensure better coverage of the sealant across the floor, you should apply the second coat at right angles to the first one. Let the sealer dry as per the time recommended by the manufacturer on the sealant can, before walking or driving on the concrete. You should be ready to wait for up to four days to allow the sealant to dry completely.

Final thought, 

Sealing your concrete floors is a foolproof way to increase their lifespan while also enhancing their beauty. The good thing is that you can easily complete a floor sealing project by yourself. If, however, you’re not particularly confident with your DIY skills, you should hire an expert.

If any of our high-quality services interest you, give us a call on 01442 389105 or 07812 182778 today. Or fill out the enquiry form on our contact page for more information.

The post Top Tips To Sealing A Concrete Floor first appeared on Base Concrete.

How To Lay A Concrete Base

Follow these steps for the best DIY project

If you are going to be laying a concrete floor for a DIY project it is important that careful preparation is made and each recommended step is followed. You may want to consider hiring a professional to do the work for you. Or at least certain parts. Perhaps the messier steps! Let’s take a look at how to lay a concrete base with this handy guide:

Mark Out Required Area

The first step is to mark out the required area for your concrete base, this can be done using pegs and string. And will need to be 100% accurate. So, make sure all sides are straight.

Dig Out The Area

Next, it is time to dig out the area you have just measured. Dig the ground in the marked area to around 175mm deep for a smaller shed or 225mm for a larger one. As you are going to need a level base it is a good idea to keep the depth you are digging as consistent as you can. Afterwards, remove the pegs.

dd Crushed Stone To Dust

For this step, you will need an MOT type 1 stone, this is crushed stone from 40mm to dust or gravel. Shovel into the space a minimum thickness layer of 75mm to form a hard base for the concrete layer. The depth should be about 100mm for a shed and around 150mm for something larger like a summerhouse. 

Measure, Cut And Fit 100m Timber Rails

Now it’s time to measure and cut and fit 100mm timber rails to the base and make sure the framework is level. This step is to create a framework that offers a strong and stable edge to the concrete and to ensure it is level.

Spread Out Layer 

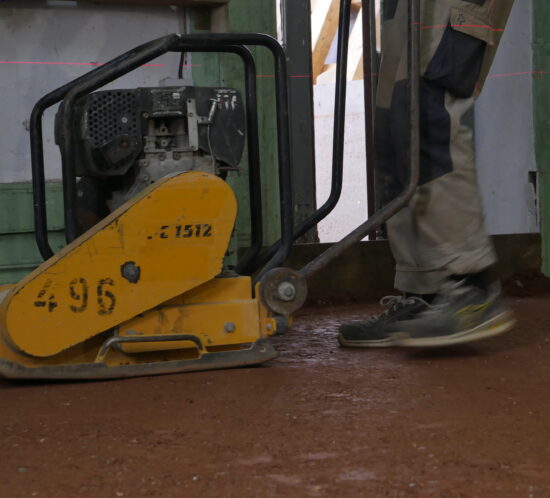
Spread out that layer of MOT stone or gravel. Then use either a manual earth rammer or powered wacker plate to compact it. This will help create a firm base for the concrete and stop it from cracking over time.

Mix The Concrete 

So, now it is time to mix the concrete. Spread it out evenly and level it off. After smoothing over, grab a stiff broom to lightly brush across the base helping to encourage a textured non-slip surface. 

Keep an eye on the weather forecast at all times. At this stage, if wet weather is forecast cover the base with polythene or a tarpaulin for 24 hours. If it’s hot weather instead then use sacking and keep it damp for a day otherwise the concrete could too dry quickly. This will result in shrinkage and even cracking. You then need to leave it for at least three days to cure.

Finishing Touches 

For finishing touches, look to see if your base is flush with the ground. If this is the case, you will have a space running around the edge of the concrete where the rails were. You can fill this with pea gravel, it will help drain away moisture from the concrete base. Now you just need to place on your base whatever your intended item was!

We hope that our blog has helped you understand how to lay a concrete base. If you have any questions please don’t hesitate to give us a call on 01442 389105 or alternatively head over to our contact page to fill in our online enquiry form. 

The post How To Lay A Concrete Base first appeared on Base Concrete.

Volumetric or Ready Mix

What’s The Difference? 

Concrete is, without a doubt, one of the most common construction materials. This is because it can be used for a wide variety of projects. It is essentially a blend of water, Portland cement, and aggregates. The two basic types of concrete used in the construction industry are site-mixed concrete and ready-mix concrete. 

There are slight differences between these two types of concrete. It is important to be aware of the differences, even if they seem subtle to you, as doing so can make it easier to choose the right concrete for your project. Here are the major differences between site-mixed and ready-mix concrete:

Preparation 

One of the obvious differences between these two types of concrete is the way they are mixed. Ready-mix concrete is usually manufactured at a plant and delivered to the clients in a ready-to-use state. It’s typically sold by volume, which is measured in cubic meters. 

Site-mixed concrete, on the other hand, is prepared at the client’s construction location. The components are mixed in specific ratios to achieve different degrees of strength. When making this type of concrete, caution must be taken to avoid quality issues. 

Time

If you are working on a time-conscious project, it’s obvious that speed is important. In such a case, you should choose ready-mix concrete, as it’s easier to load and off-load, which may save you time.

Volumetric concrete is more time consuming to work with, as you have to pause part of the project while the mix is being created. 

Equipment

An important factor for any construction project is your equipment and where you can source what you need. Volumetric concrete requires the use of equipment such as batch mixers. Whereas, ready-mix concrete does not require the project owner to hire equipment, as the concrete is not made on-site.

Convenience

Ready-mix concrete is convenient for almost any kind of construction project, as it can be delivered to multiple sites within the project location. However, volumetric concrete has to be mixed as close as possible to the point of use to avoid contamination. 

Another major difference between ready-mix concrete and volumetric concrete is storage requirements. You will require controlled storage space for the materials used to make volumetric concrete. However, when using ready-mix concrete you won’t need any extra storage space. 

Quality

Ready-mix concrete has a better and more consistent quality when compared to site-mixed concrete. This is because ready-mix concrete is mixed in an automated and controlled environment. 

Material takeoff

The materials used to make site-mixed concrete have to be estimated individually and purchased separately. However, ready-mix concrete is simply calculated as a single item. 

Waste 

Working with site-mixed concrete causes material loss not only when the materials are being mixed but also during storage. Whereas, ready-mix concrete causes minimal waste on your site because the concrete is delivered in a ready-to-use state. 

Workforce

When working with ready-mix concrete, the only time you may require skilled labour is when pouring and compacting the concrete. However, you will require more man-hours when working with volumetric concrete.

In summary,  

Both types of concrete have some major differences. It is important to research which type of concrete is best for your construction project. Generally, ready-mix concrete is a better option as it can be used for a wider variety of projects.

if you have any questions make sure to contact us.

The post Volumetric or Ready Mix first appeared on Base Concrete.

Did you miss our previous article…
https://concretedoctorsolutions.net/?p=210

Phytodepuration with Degre.47

Depurating Landscape: an introduction to plants as a water treatment alternative

This article is a collaboration between Degré47 and Critical Concrete, aiming to be an introduction to phyto purification’s general concepts for self-constructors. It also aims to shed light on these systems as low-cost, low-tech and self-constructible wastewater treatment solutions.

Degre.47 Logo

The wastewater issue

It isn’t new to argue that the disorganized and centralized population growth in urban areas has brought challenges to the natural environment. In addition to CO₂ emissions, waste production and impermeabilization of soil, wastewater is one of the fundamental issues local governments need to address. At the very least, the wastewater from human activities of any sort needs to be treated to be assimilated by nature.

There are many water treatment solutions, from the collective to the individual scale. One of the most common sanitation solutions in urban centres is a collective one: wastewater treatment plants. These centres manage the wastewater through physical, chemical and biological processes in a complex and highly specialized infrastructure. [1]

After the physical filtration through decantation, flotation, filters and/or membranes, traditional treatments commonly make use of chemical products, notably coagulants (ferric chloride, aluminium sulphate, etc.), flocculants, and sometimes disinfectants such as chlorine or ozone. These processes, however, are arguably costly and energy-intensive, not to mention polluting. They also necessarily generate by-products such as coarse waste, sand and sludge that must be cleaned, decanted, stabilised and treated. [2]

In addition, in the ever-growing urban centres, many areas aren’t able to access the public sewage system, bringing up the importance to think of alternatives for wastewater treatment, especially low-cost and low-maintenance ones, as the mismanagement of effluents can pose a serious issue to natural hydric resources. [3]

Individual or small-scale collective sanitation solutions might be a good way to tackle the situation. A solution that stands out is the phyto-purification system with its low energy and low maintenance (as there’s no need for emptying and transporting). It is already the main sanitation system in France for cities of less than 1,000 inhabitants. [4]

This system, which is based on the use of plants (phyto) to filter the wastewater has been proving to be a low-cost yet highly efficient way to treat domestic wastewater. Because it is energetically and logistically autonomous, phyto-purification can be considered an ecological sanitation solution.

Purification with plants

Phyto-purification consists of wastewater purification systems that make use of aquatic plants, reproducing water depuration processes typical of humid areas. There are two main methods of phyto purification: lagooning, which consists of ponds with microphytes, similar to natural wetlands, and the filters planted that make use of macrophytes and consist of ponds filled with aggregates in which the water circulates for treatment. [5]

In these systems, the plants are responsible for bringing oxygen through their roots whereas the aggregates act not only as a physical filter — as bigger particles can’t penetrate it — but also as a chemical filter as they absorb phosphorus and ammoniacal nitrogen. In these basins, an important biological process also occurs: the microfauna present in the system degrades organic matter, turning it into nutrients to be absorbed by the plants. [6]

The interesting aspect is that, although the name might indicate, the wastewater is not filtered by the plants. In reality, the plants are the key element to create the environment for bacterial activity, especially in the region around the plants’ roots. The plants greatly benefit from the system as it absorbs nutrients that are liberated in the process of depuration. It’s a symbiotic relationship.

The different methods

There are two groups of phyto purification systems that can be used according to different needs and types of wastewater: lagooning and filters planted. [7]

Lagooning

This system makes use of microphytes (small aquatic plants), microorganisms and (sometimes) substrate to control water pollution. Its main characteristic is the resemblance with natural wetland areas in which the majority of elements are saturated, i.e submerged in water. [8]

In this model, the main purification process occurs on the aquatic surface where the plants and the bacteria present in their roots are located.  In this solution, the effluent is continuously supplied and homogeneously distributed on the surface, flowing horizontally and superficially at low scooping velocity. The water is then collected by a drainage pipe located in the basin’s bottom. [9]

It is important to stress that in this solution, the substrate is not a requirement, and when not applied, fluctuant aquatic species should be used (see image 1). [10]

fig. 1: Different types of plants

Because there’s no emphasis on physical filtration with a substrate, this solution requires a previous treatment focused on the removal of organic matter and suspended solids as it mainly targets the removal of nutrients, especially phosphorus by the plants and bacteria. [11] The use of a substrate, however, can be beneficial if residual suspended solids end up in the basin.

This is a cheap and very low maintenance option, however, it generally requires a larger area than other methods.

fig. 2: surface flow filter with substrate and emergent plants

Filters planted

In this model, the system works through percolation, meaning the wastewater infiltrates the substrate in the process of purification. Here the substrate can be saturated or not. [12]

In this system, the water flows under the surface of the planted bed, through the pores of the substrate. There are two subsurface models: the horizontal flow filter and the vertical flow filter.

In the horizontal model, the flow can be operated in a continuous input, intermittent or even in batch mode whereas the vertical flow model requires intermittent dumping of water in short periods, followed by long resting intervals.

fig. 3: subsurface horizontal flow filter

The long periods between inflow in the vertical flow basin results in a high rate of oxygen transfer from the atmosphere to the system. In aerobic conditions the nitrification can occur, potentiating the nitrogen. In the horizontal flow basin, the poor levels of oxygen favor the occurrence of denitrification by anaerobic bacteria. [13]

fig. 4: subsurface vertical flow filter

In some cases, both flows can be combined to enhance the system’s performance. That’s the case of the double planted filter method applied by Kevin Quentric and documented and published as a tutorial by low-tech lab. [14]

It consists of two different units with a vertical and a horizontal water flow that perform complementary tasks in the process of depurating the wastewater.

fig. 5: section of double filter planted

The first phase of this system is a 60-80 cm² deep vertical filter (VF) which is divided into two parts and each part takes turns receiving the raw sewage (wastewater without previous treatment) from above (see fig. 6). The wastewater spreads on the surface of the first filter and has its solid particles such as hair, fat, faeces, etc, drying and decomposing on the surface whereas the water infiltrates downwards until it reaches the gravel layer. It might sound like the perfect recipe for a smelly garden but, as Kévin explained in emails to us, in a nutshell, bad smells occur in warm, low oxygen environments, when the water stagnates and fermentation takes place. In this double filter planted, however, the vertical filter is in open air, meaning it’s fairly oxygenated. The coarse material retained on the surface of the sand dries out and compost whereas the wastewater quickly infiltrates, without time to ferment. For this, the occurrence of smells is rather rare.

After the percolation, the water then is collected by a drain in the bottom of the VF. This phase of the process is aerobic: the bacteria present in it require oxygen to mineralize the organic particles making the compounds absorbable by the plants.

fig. 6: plan of double filter planted

The second part of the system, the horizontal filter (HF) is 60cm deep, filled with gravel and water 10 cm below the substrate. The second filter is then a poorly oxygenated environment, in which anaerobic bacteria live. These bacteria perform the important task of denitrifying the water by extracting the oxygen from the nitrate molecules, turning them into dinitrogen.

Another interesting aspect is that this system is energetically autonomous. For that, it relies on gravity: each stage into the water purification is lower than the previous one so the water can flow without the use of pumps.

The step-by-step for this method can be found on the low-tech lab site. [15]

Pretreatment

In the double planted filter by Kevin Quentric there’s no need for primary treatment and the raw sewage can be discharged directly on the first filter. In some models, however, pretreatment is required before the wastewater discharge for removal of coarse particles and settleable solids in order to prolong the useful life of the systems, minimising the occurrence of clogging.

The specific type of pretreatment depends on the type of sewage and on the chosen method of phyto purification. Some of the primary treatment methods are:

Screening: This is typically the first step, especially for surface flow filters. Screens are used to remove large debris. [16]Oil removal by decantation: The method is based on injecting fine air bubbles into the grease tank, allowing the grease to rise quickly to the surface (grease is hydrophobic). [17]Sedimentation: Water is typically retained in sedimentation basins for at least 4 hours, allowing particles to settle out. [18]

Domestic phyto-purification

The management of wastewater is of extreme responsibility but depending on which system is chosen and the knowledge of the builders, self-construction is an accessible and plausible option. In addition, professionals in the field can provide help for those seeking to build their own phyto-purification system at home.

When planning a phyto-purification system, some things must be taken into consideration, such as sizing, site and botanical species.

Choosing a site

Ideally, the system should be located as close as possible to the sewage outlet. Remember to make sure the system works with gravity by building it on a slope or working with built and excavated basins. Earthwork is also an option but it might significantly increase the costs of the construction. In the elected site for construction, the soil should be sufficiently compacted to minimise groundwater infiltration and should be above the water table and floodplains.

Another aspect to have in mind is that phyto purification requires space. The site of construction should be of sufficient size to meet current and possible future expansions. Also, insects (especially on surface flow models) and, very rarely, odours can pose discomfort. Therefore, make sure the system is not too close to your and/or the neighbour’s house.

Lastly, the site should be very accessible to construction and maintenance machines and vehicles. [19]

Sizing

The dimensions of the system should be calculated by maximum capacity and a good way to do so is using the value of “inhabitant equivalent”, which relates to the house’s number of rooms and not to the number of inhabitants. In this model, each room of the house = inhabitant equivalent (2 to 4m²). [20]

Plants

To choose what species should be used, a few criteria need to be taken into consideration such as main pollutants to be removed; climatic conditions and local availability of species. They can be emergent, fluctuant or submerged species (see fig. 01). [21]

In Europe, the common reed (Phragmites communis) is one of the main wetland plant species used for water treatment, especially on subsurface flow filters. Some examples are Caltha palustris,Veronica beccabunga and the Typha latifolia.


fig. 7: Phragmites communis, Caltha palustris,Veronica beccabunga and Typha latifolia, respectively.

When the water goes through a pretreatment basin, the plants in the filter basin can be less resistant. Some examples are the Sparganium erectum, Alisma plantago and Iris pseudacorus. [22] Before mixing different species in the same basin, research about possible interactions between the species and if there is competition between them.


fig. 8: Sparganium erectum,Baldellia ranunculoides and Iris pseudacorus, respectively.

It’s advisable to transplant seedlings of plants that have been removed from a nearby location, which are naturally more adapted to the local climate and to do so in the rainy season, in order to minimise conditions of hydric stress for the plants. Plant the botanical species between 20 to 30 days before starting the purification system so there’s time for biological adaptation of the plants to the new environment.

Considering phyto purification

Phyto purification systems are economically efficient solutions. It is estimated that however the initial cost can be elevated (6.500 euros on the hybrid solution by Kevin Quendric, for example), these water treatment systems pay for themselves in about fifteen years time as they do not require electric energy nor maintenance by a qualified workforce.

Unlike conventional purification systems, phyto purification can support insects, birds, amphibians, contributing to the local biodiversity. The lack of chemicals makes the system an environmentally-friendly option available for water treatment.

In addition to environmental and economic upsides, planted filters can be a beautiful landscape project as it has an undeniable aesthetic value. A symbiotic relationship can emerge. The wastewater produced every day by humans is rich in nutrients valuable for certain plants of every shape and colour.

[1] Dias, Richardsson Mendes. (2019) Eficiência da Fitodepuração como Alternativa de Tratamento de Águas Residuárias: Um Estudo de Caso. Teresina:  IFPI

[2]https://www.build-green.fr/phytoepuration-creer-un-filtre-plante/doing_wp_cron=1617567011.8170158863067626953125, accessed 4 April, 2021.

[3] Ibidem

[4] https://wiki.lowtechlab.org/wiki/Phyto%C3%A9puration_eaux_us%C3%A9es, accessed 5 April, 2021.

[5] https://www.lenntech.com/phytodepuration.htm, accessed 5 April, 2021.

[6] http://www.graia.eu/en/our-activities/phytodepuration-and-lagooning/, accessed 5 April, 2021.

[7]https://www.build-green.fr/phytoepuration-creer-un-filtre-plante/?doing_wp_cron=161756 7011.8170158863067626953125, accessed 6 April, 2021.

[8] Ibidem

[9]https://www.researchgate.net/publication/326352770_Manual_de_sistemas_de_Wetlands_construidas_para_o_tratamento_de_esgotos_sanitario_implantacao_operacao_e_manutencao, accessed 6 April, 2021.

[10] Ibidem

[11] Ibidem

[12]https://www.build-green.fr/phytoepuration-creer-un-filtre-plante/?doing_wp_cron=1617567011.8170158863067626953125 , accessed 8 April, 2021.

[13]https://www.researchgate.net/publication/326352770_Manual_de_sistemas_de_Wetlands_construidas_para_o_tratamento_de_esgotos_sanitario_implantacao_operacao_e_manutencao, accessed 8 April, 2021.

[14] https://wiki.lowtechlab.org/wiki/Phyto%C3%A9puration_eaux_us%C3%A9es, accessed 8 April, 2021.

[15] Ibidem

[16]https://www.sciencedirect.com/topics/earth-and-planetary-sciences/water-purification-plant, accessed 9 April, 2021.

[17]https://www.build-green.fr/phytoepuration-creer-un-filtre-plante/?doing_wp_cron=1617567011.8170158863067626953125, accessed 9 April, 2021.

[18] https://www.sciencedirect.com/topics/earth-and-planetary-sciences/water-purification-plant, , accessed 11 April, 2021.

[19https://wiki.lowtechlab.org/wiki/Phyto%C3%A9puration_eaux_us%C3%A9es, accessed 11 April, 2021.

[20] Ibidem

[21] https://www.researchgate.net/publication/326352770_Manual_de_sistemas_de_Wetlands_construidas_para_o_tratamento_de_esgotos_sanitario_implantacao_operacao_e_manutencao, accessed 11 April, 2021.

The post Phytodepuration with Degre.47 first appeared on Critical Concrete.
Did you miss our previous article…
https://concretedoctorsolutions.net/?p=195