
Interested in learning more about this topic and more social and sustainable ways of doing architecture? Apply now for our Postgraduate!
jQuery(function() { _initLayerSlider( ‘#layerslider_20_1g4p31gwuunwl’, {createdWith: ‘6.11.2’, sliderVersion: ‘6.11.2’, skin: ‘v6’, navPrevNext: false, hoverPrevNext: false, navStartStop: false, navButtons: false, showCircleTimer: false, skinsPath: ‘https://criticalconcrete.com/wp-content/plugins/LayerSlider/assets/static/layerslider/skins/’}); });
In the former articles was explained some of the advantages to be found within these ancient common methods of charring wood. Historically and within many cultures, there are a myriad of charring modalities. In this article you will find adapted and illustrate one of those methods using a small wood burning flash oven that can effectively provide the charring levels needed without overtly case timber that has been dried too rapidly. This leads to reversed stresses; compression stresses on the shell and tension stresses in the core. This results in unrelieved stress called case hardening.[1]) the wood items placed through it. In this article we explain how our charring station is built and how it works. Charring systems like this one have been commonly found in many cultures and this is an adapted version of several of those [2]. It is adaptable, is easy to operate and runs without the use of gas or special tools. All that is needed are some (fire) bricks and scrap wood for fuel.
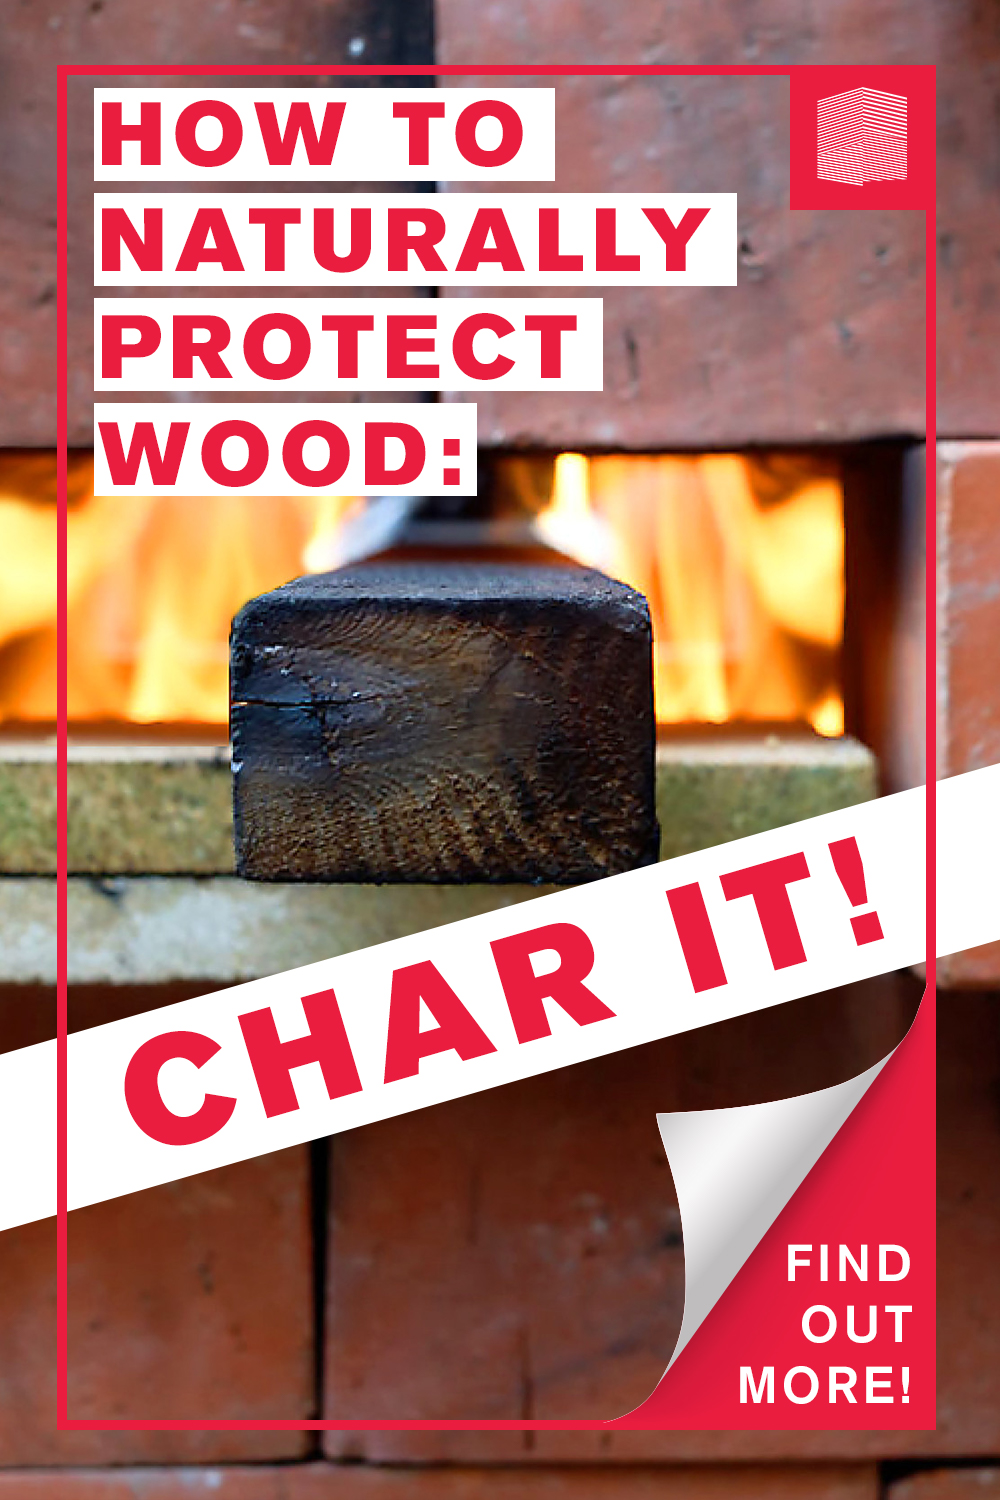
Counter-intuitively, charring wood has several astonishing advantages without involving any chemicals or additional energy consumption. The idea is to sear the surface of the wood without combusting the whole piece nor damaging the interstitial aspects of the wood so it will not warp over time. Besides giving the material an interesting and unique look, the process leads to a triple protection, all without the need of repeating the process after some time has past:
fire protection – charring the surface starts a superficial carbonation of the material and thus lowers the thermal conductivity. termite and mold protection – charring wood destroys the wood’s nutritional value to insects and fungi.water protection – the enhanced carbonation gives the charred layer a waterproof resistance, as water slips on burned wood like over an oily surface.
The easiest and most popular way to char wood commonly found today is probably with a blow torch. This can work, but regrettably too often performed without the attention to detail not to stress the wood from within. It’s easy and practical, especially for small or irregular pieces but has to be performed with caution. But when searing many big wooden pieces it is slow and uses a lot of gas. These searing modalities are not to be confused with traditional Japanese, 焼杉 (Yakisugi) which is often misrepresented as 焼き杉 (aka shou-sugi-ban”) [3] – us included, in our previous articles!.
Yakisugi can only be achieved with a limited range of Cypress species found on the islands of Japan[4] and is a very unique process found within several methods of crafting guilds. The most commonly seen being where three planks of wood get bound together to form a long triangle and a fire is started in the resulting tube. There are several other methods, but they are for very specific formats and within context to only yakisugi and not the charing modalities found within other cultures.This technique works well only when you have similar boards, as it’s complicated to set up when boards have different widths and lengths.


Terunobu Fujimori, Tea House, Barbican. Photo Ben Tynegate
The birth of the charring station
This contemporary oven is based on some of the principles of a rocket stove. The main idea is to create a fire within a brick tube, which will become very concentrated and strong due to the tube-generated draft-effect (for more explanation on this and general information, check our articles on rocket stoves). Just over the burning material, where the fire is very strong, there will be small slots on the opposing sides of the tunnel. The wood, which needs to be seared, can be passed easily through the fire and thus be charred fast and safely.
After this oven was created with commonly available materials which enables us to char planks and boards of different sizes in an effective manner. This oven also allows the operator safety by lowering the risk of burning their hands, while also providing more control of searing the wood and less waste of fuels which is then more environmentally friendly.
How does the charring station work

Author: Melana Jäckels
1 – The main part is a L-shaped tunnel. On the bottom it has an opening on the side, where the air goes in and it flows all the way through the tunnel up to the upper opening.
2 – Right after the curve, the fireplace is based on a second layer. Its bottom has two small gaps for the air to pass and to allow the finer ash to fall.
3 – It is important to have a tunnel that is at least 5 cm wider than the boards you plan to char. If a board fills the whole wide of the tunnel it stops the draft and decreases the fire.
4 – On the same level as the fire is also the stair-like firewood intake. The fire is started and fed from here. It’s important to have a brick to close the firewood intake so it does not disturb the air draft in the moments no wood is inserted.
5 – In the chimney, right above the fire, there are two vertical slots on opposing sides to insert the wood you want to char.
6 – Above the inserting slots the chimney narrows slowly. This is important to not happen in a sudden step, as it otherwise will decrease the draft and create a lot of smoke coming out of every small gap.


Building your own charring station
For our charring station we used 12 big bricks (ca. 29x18x9), around 70 medium-sized, red bricks (ca. 23x10x7) and 5 fireproof bricks (22x10x2). Depending on what is available, numbers and materials might be adjusted. Before starting the building process, it is important to choose a big outside space, which is not too windy and has a relatively leveled ground, with enough space on each side of the station to pass the board through.
Step by step:
First, we made a fire-resistant base which is leveled and flat. For this we used the big bricks
Afterwards we started to build a tunnel for the air intake with dimensions of 90 to 25cm. It is important that it is stable and possible to close with removable bricks on the sides
We covered the tunnel with the red bricks and left two gaps of about 1,5 cm each as seen in the picture. 
The fireplace gets covered with fireproof bricks and the next line of bricks is put on all sides
To protect the walls, we also placed fireproof bricks around the fireplace

The next step is to build the J-shaped intake with steps made of bricks, towards the fireplace. It is important to make sure its height will match up with the next row of bricks

Now it is time to create the slots where the to be charred boards will be inserted. For that we put two bricks flat across from each other. This station works well for boards with a maximum width of 16 cm. If you plan to use a roller stand, make sure the height of your slots measured from the ground is adapted to the height of the roller stand)

Above the slots we continued building the chimney in the original diameter for a few more rows, but then we start to become narrower by changing the order of the bricks
In this timelapse video you can see how we built up the station in 10 seconds!
How to use the Charring Station
Before starting, make sure to have the right equipment (fire resistant gloves, a mask, a bucket of water / sand, and a fire extinguisher) and enough material to burn! If you want to char a big quantity of wood it is also quite handy to have rolling stands.
Starting the fire works best when you build a little teepee out of dry kidlings and put some sawdust on it, light up the tip of a rolled paper (A4 is enough), and move it slowly into the directions of the teepee. Besides you can put another burning paper over the chimney, to facilitate the draft-effect.
To avoid unnecessary interruptions, it is important to have a constant refilling of firewood. As soon as the fire burns strongly, the opening of the firewood intake can be closed and the boards can be inserted through the slots. Inside, the strong and concentrated fire will char the surface of the wood from below and the sides. The boards should be pushed through the fire in small steps to have a satisfying and regular result. After the first part of a board is charred, it can be taken out and pushed upturned through the fire again until both sides are completely charred. If the results are not satisfying, the pace should be adapted. Depending on the size, form and species of the wood it will take its respective time to finish one piece.


Once the board is charred it should be brushed with a metal brush and oiled. As the charring process dries the wood very rapidly, depending on its nature it might have a tendency to crack. The linseed oil will nurture the wood and compensate for this effect. For more information on this see our article on Natural Wood Protection.
Conclusion
We are using this method for a while now and we are super satisfied with the results. Not only we save time but also we are more independent of gas. The work with the charring station is safe and convenient. The station is easily adaptable and can be modified to different dimensions. We are looking forward to using the station in the future and improving it further.
Check our YouTube video for a step-by-step tutorial how to build up your own station!
We would like to sincerely thank Jay C. White Cloud for his time, valuable input and collaboration on this research.
Sources
[1] Wikipedia “Wood drying”, [Online] available at https://en.wikipedia.org/wiki/Wood_drying (Last accessed in July 2020)
[2] Jay C. White Cloud [Tosa Tomo Designs] https://about.me/tosatomo
[3] [4] Nakomoforestry “Yakisugi” Or “Shou Sugi Ban”? Learn What You Should Call It, And Why”, [Online] available at https://nakamotoforestry.com/yakisugi-or-shou-sugi-ban-learn-what-you-should-call-it-and-why (Last accessed in July 2020)
Picture: Terunobu Fujimori, Tea House, Barbican. Photo Ben Tynegate [Online] available at https://www.ben-tynegate.com/tea-house (Last accessed in July 2020)
The post Charring Station first appeared on Critical Concrete.
Did you miss our previous article…
https://concretedoctorsolutions.net/?p=160